Avo Maria

No, I didn’t make any spelling errors. I’m referring to one of my favorite produce items on the planet, the avocado. I can avocado any way it’s given to me–plain, in a smoothie, as guacamole, on myriad savory dishes, and now…in pudding.

If you’ve been reading my blog, you’ll know that I have a serious ice cream problem and am on a quest to find as many healthy substitutions to assuage my cravings. Since my chia seed pudding post (click here to read), I’ve made several different variations and make batches on a weekly basis. It hasn’t gotten boring at all and the versatility of the recipe is impressive–I’ve even made a pumpkin version and fell deeper in love with the recipe as a result. However, while in Chicago a couple of weeks ago, I was reminded of how much I missed drinking avocado smoothies from one of my favorite Vietnamese restaurants, T.A.N.K. I don’t know what voodoo they do, but no one makes an avo smoothie quite like them. Trust and know, I’ve done my research and have the healthy hair, skin and nails to prove it! Sipping the green goodness triggered me to think of other ways to incorporate avocado into my diet, namely as an ice cream substitute. Once again, the internet and diet gods chose to bless me, for I came across a great recipe for a chocolate pudding that uses avocado as its base. Experimentation was calling my name! For those of you that are interested in giving this pudding a try, here’s the recipe:

Ingredients (2 servings):
– 1 large, ripe avocado
– 2 tbsp. of cocoa powder
– 1 tbsp. Stevia (or sweetener of choice)
– 4 squares of dark chocolate (at least 70% cocoa)
– Almond milk (or milk of choice)

Directions:
– Cut the avocado in half, remove the stone and scoop the flesh into a dish.
– Add the cocoa powder, Stevia (or preferred sweetener), and mix well.
-In the meantime, melt the dark chocolate in a microwave, then pour it into the avocado mixture.
– Give it another good mix.

The texture should resemble a traditional pudding. If not, add almond milk a little at a time, until the pudding reaches your desired consistency.

Not only is this pudding delicious, it’s also loaded with healthy fats and fiber. Good times all around!

I’ve made this pudding a few times since my initial trial and am in love with the recipe. It’s simple, quick to make, and quite versatile. For second attempt, I added some coconut flakes and was very happy with the turnout. The third time, I sprinkled a small amount of pink Himalayan sea salt on top for added health benefits and because I’m a sucker for sweet/savory combinations. It. Was. DIVINE. A couple of nights ago, I was feeling ambitious and decided to combine my chia seed pudding recipe with this one and was blown away–it worked awesomely well.
20150422_223240I simply had to add more almond milk and use less seeds. I will definitely be adding avocado pudding to the dessert rotation as I continue on my quest for more easy healthy sweet treats.

If you decide to use this recipe, let me know what you think!

I’m Peeling!

Well, actually, I’m shedding. Which leads to the necessity of an at-home peel. Whenever I’m giving myself different skincare routines or treating skin problems, or even when the weather changes (as it is now, from winter to spring), my skin starts to look like a snake that’s shedding off its scales–not a pretty picture. I’m not trying to scare everyone in my office and lose my job! Therefore, I must get rid of these scales dead layers with a quickness. I ain’t got time for nature! Thank the skin gods for this Korean gel peel called IPKN Pore Essence Peeling Gel, that I came across while at my Chinese spa (why they don’t have Chinese products is a puzzlement to me, but I won’t analyze it–I love Korean beauty products).

Previously, I used a different peel that required me scrubbing my face till it was practically numb (click here to read), but I loved it because it worked. Now I don’t have to use my skincare routine to grow my biceps, so I’m a happy woman for this added bonus. I work out enough as it is. The IPKN gel is affordable, easy to use, smells nice, and it neither irritates the skin nor does it make you irritate/agitate it. One pump of this magic works like a pencil eraser on those scales. It literally makes them roll off like balls of gunk. Don’t believe, just watch!

I hope you saw the “skin balls” that I tried to show in the clip–I moved the camera too quickly. The peel took off the entire layer of dead skin that was just sitting on my face like a mask. I’ve been using IPKN for a couple of months to make sure my initial infatuation with the product didn’t wane. Nope! I’m still loving it and using it regularly. Until I find something that can top this, it’ll stay in my medicine cabinet.

So for now, deuces!
The Vickylicious

Natural Smiles Are the Best!

Anyone who’s known me long enough is very aware of my obsession with teeth. They’re on the top of my list of things I notice first about a person, aesthetically: how healthy, even, white/bright, and clean they are (because hopefully when people meet me they’re smiling, haha!). This also goes for my teeth; a hypocrite, I am not. I dutifully go to the dentist twice yearly, brush, floss, use mouthwash, and I even have a couple of my own dental tools! However, I drink a lot of tea and coffee, so keeping my teeth white and bright is a task that I must deal with carefully. Bleaching products are harsh, expensive, and dangerous, so I’m always looking for natural and inexpensive ways to handle the job. Most people brush with baking soda and hydrogen peroxide–I’ve been doing this for more years than I can count–but I want something that works better and stronger. Besides, using peroxide and baking soda long term can be too abrasive for your teeth and can ruin enamel over time. Well, my wish was some mystery god’s command!
WP Natural RinseThe above pic is all you need to naturally whiten your teeth without having to spend a fortune or subjecting your teeth to harsh chemicals. Unbeknownst to me, this concoction has been used for ages! Bonus: this recipe is also great for removing harmful bacteria from your mouth, which in turn strengthens your teeth and gums. See the recipe and directions for this formula below.

Ingredients:

  • 3 cups – distilled water
  • 2 tsp – baking soda
  • 1 tsp – sea salt
  • 1/2 tsp – walnut or sesame oil

Directions:
Heat 2 cups distilled water, remove from heat and add baking soda, sea salt, and oils.

Add 1 cup distilled water and mix together until ingredients are fully dissolved. Transfer mixture using a funnel into a jar with a top and store in the refrigerator until you are ready to use. Shake well before using and swish around in mouth for about 1 minute, spit out (make sure you don’t swallow any of the mixture), and brush your teeth as you normally would.
***Because this is an all natural concoction, please remember to discard the mixture after two weeks and make a fresh batch.***

Unlike many store bought rinses, this natural method contains no bleach and is perfect for removing tartar and leaves your mouth fresh and clean. Will it whiten your teeth after one treatment? No, it won’t. It will however, gradually whiten and strengthen your teeth and gums over time in a healthy, safe and natural way that won’t harm your gums and tooth enamel. This will save you a lot of money and pain in the future when you realize everyone that’s been bleaching has to buy a whole new mouth, can’t eat or drink foods due to gum erosion and intense gum sensitivity, or worse, finds out they have mouth cancer from all the chemicals and unsafe treatments. Like most things in life: slow and steady wins the race!

Because I’m always looking for home remedies for all things health and beauty related, I will probably be posting more regarding keeping our smiles healthy, happy and pearly!

Stay tuned until then (and feel free to send me pics if you try this remedy and want to share your results)…
The Vickylicious

Ch-Ch-Ch-Chia!

Many people don’t know that I had have a serious addiction; I fight urges on a daily basis and think about it all the time, day and night, sometimes it makes appearances in my dreams. Ice cream. It makes me happy, keeps me company, can be savory, sweet, or both. Ice ream comforts me and punishes me; it can be a happy ending and yet a sad one when the spoon hits the bottom of the carton. It can be smooth, or chunky and rough; soft or hard, cheap or expensive, good in small doses, but bad in large quantities. Ice cream is a metaphor for life. Ice cream is life. Ice cream gives me life.

In order to keep from relapsing, I need healthy substitutes and activities to suppress my urges. Enter the chia seed.

Although I’m not into food trends, and chia seeds are gaining in popularity by the day, I’m a believer in these little suckers. They’re smaller than flax seeds, but even though many people compare them to each other, chia seeds are filled with twice the protein of most grains and contain five times more calcium than milk. On top of that, they are rich in omega-3 and omega-6 fatty acids, soluble fiber, potassium and several antioxidants, nutrients and minerals. Incorporating chia seeds into you diet will provide many benefits, such as:

Increasing Protein Intake
Most people—especially women and vegans/vegetarians—don’t consume enough protein. Chia seeds make a great source of protein for vegetarians and don’t have any cholesterol. One one-ounce serving of these amazing little power seeds has 4.4 grams of protein.

Upping Fiber Consumptions
A one-ounce serving of chia seeds has 11 grams of dietary fiber, which is about a third of the recommended daily intake. Adding some seeds to your diet is a super easy way to make sure you’re getting a proper amount of fiber, which aids in digestive health.

Providing Phosphorus (Something that’s not on anyone’s radar, let’s be honest)
Chia seeds also help you maintain healthy bones and teeth (the calcium benefits bolster this effect). Phosphorus is also used by the body to synthesize protein for cell and tissue growth and repair.

Improving Heart Health
Chia seeds have been shown to improve blood pressure in diabetics, and may also increase healthy cholesterol while lowering total, LDL, and triglyceride cholesterol. Don’t we all want to keep our hearts pumping like well-oiled machines? Yes. Yes we do.

Combatting Diabetes
Chia seeds slow down digestion. The gelatinous coating chia seeds develops when exposed to liquids-can also prevent blood sugar spikes.

Fighting Belly Fat
Chia’s stabilizing effect on blood sugar also fights insulin resistance, which has been tied to an increase in belly fat (source: Live Strong). Enough said. No one wants belly fat.

Filling You Up Faster
Tryptophan, the same famous amino acid found in turkey, is also found in chia seeds. Even though tryptophan is notorious its “Itis-inducing” property that makes you want to take a major nap, it also helps to regulate your appetite, sleep and improve your mood. Added benefit to getting full faster: making less room in your belly for bad things.

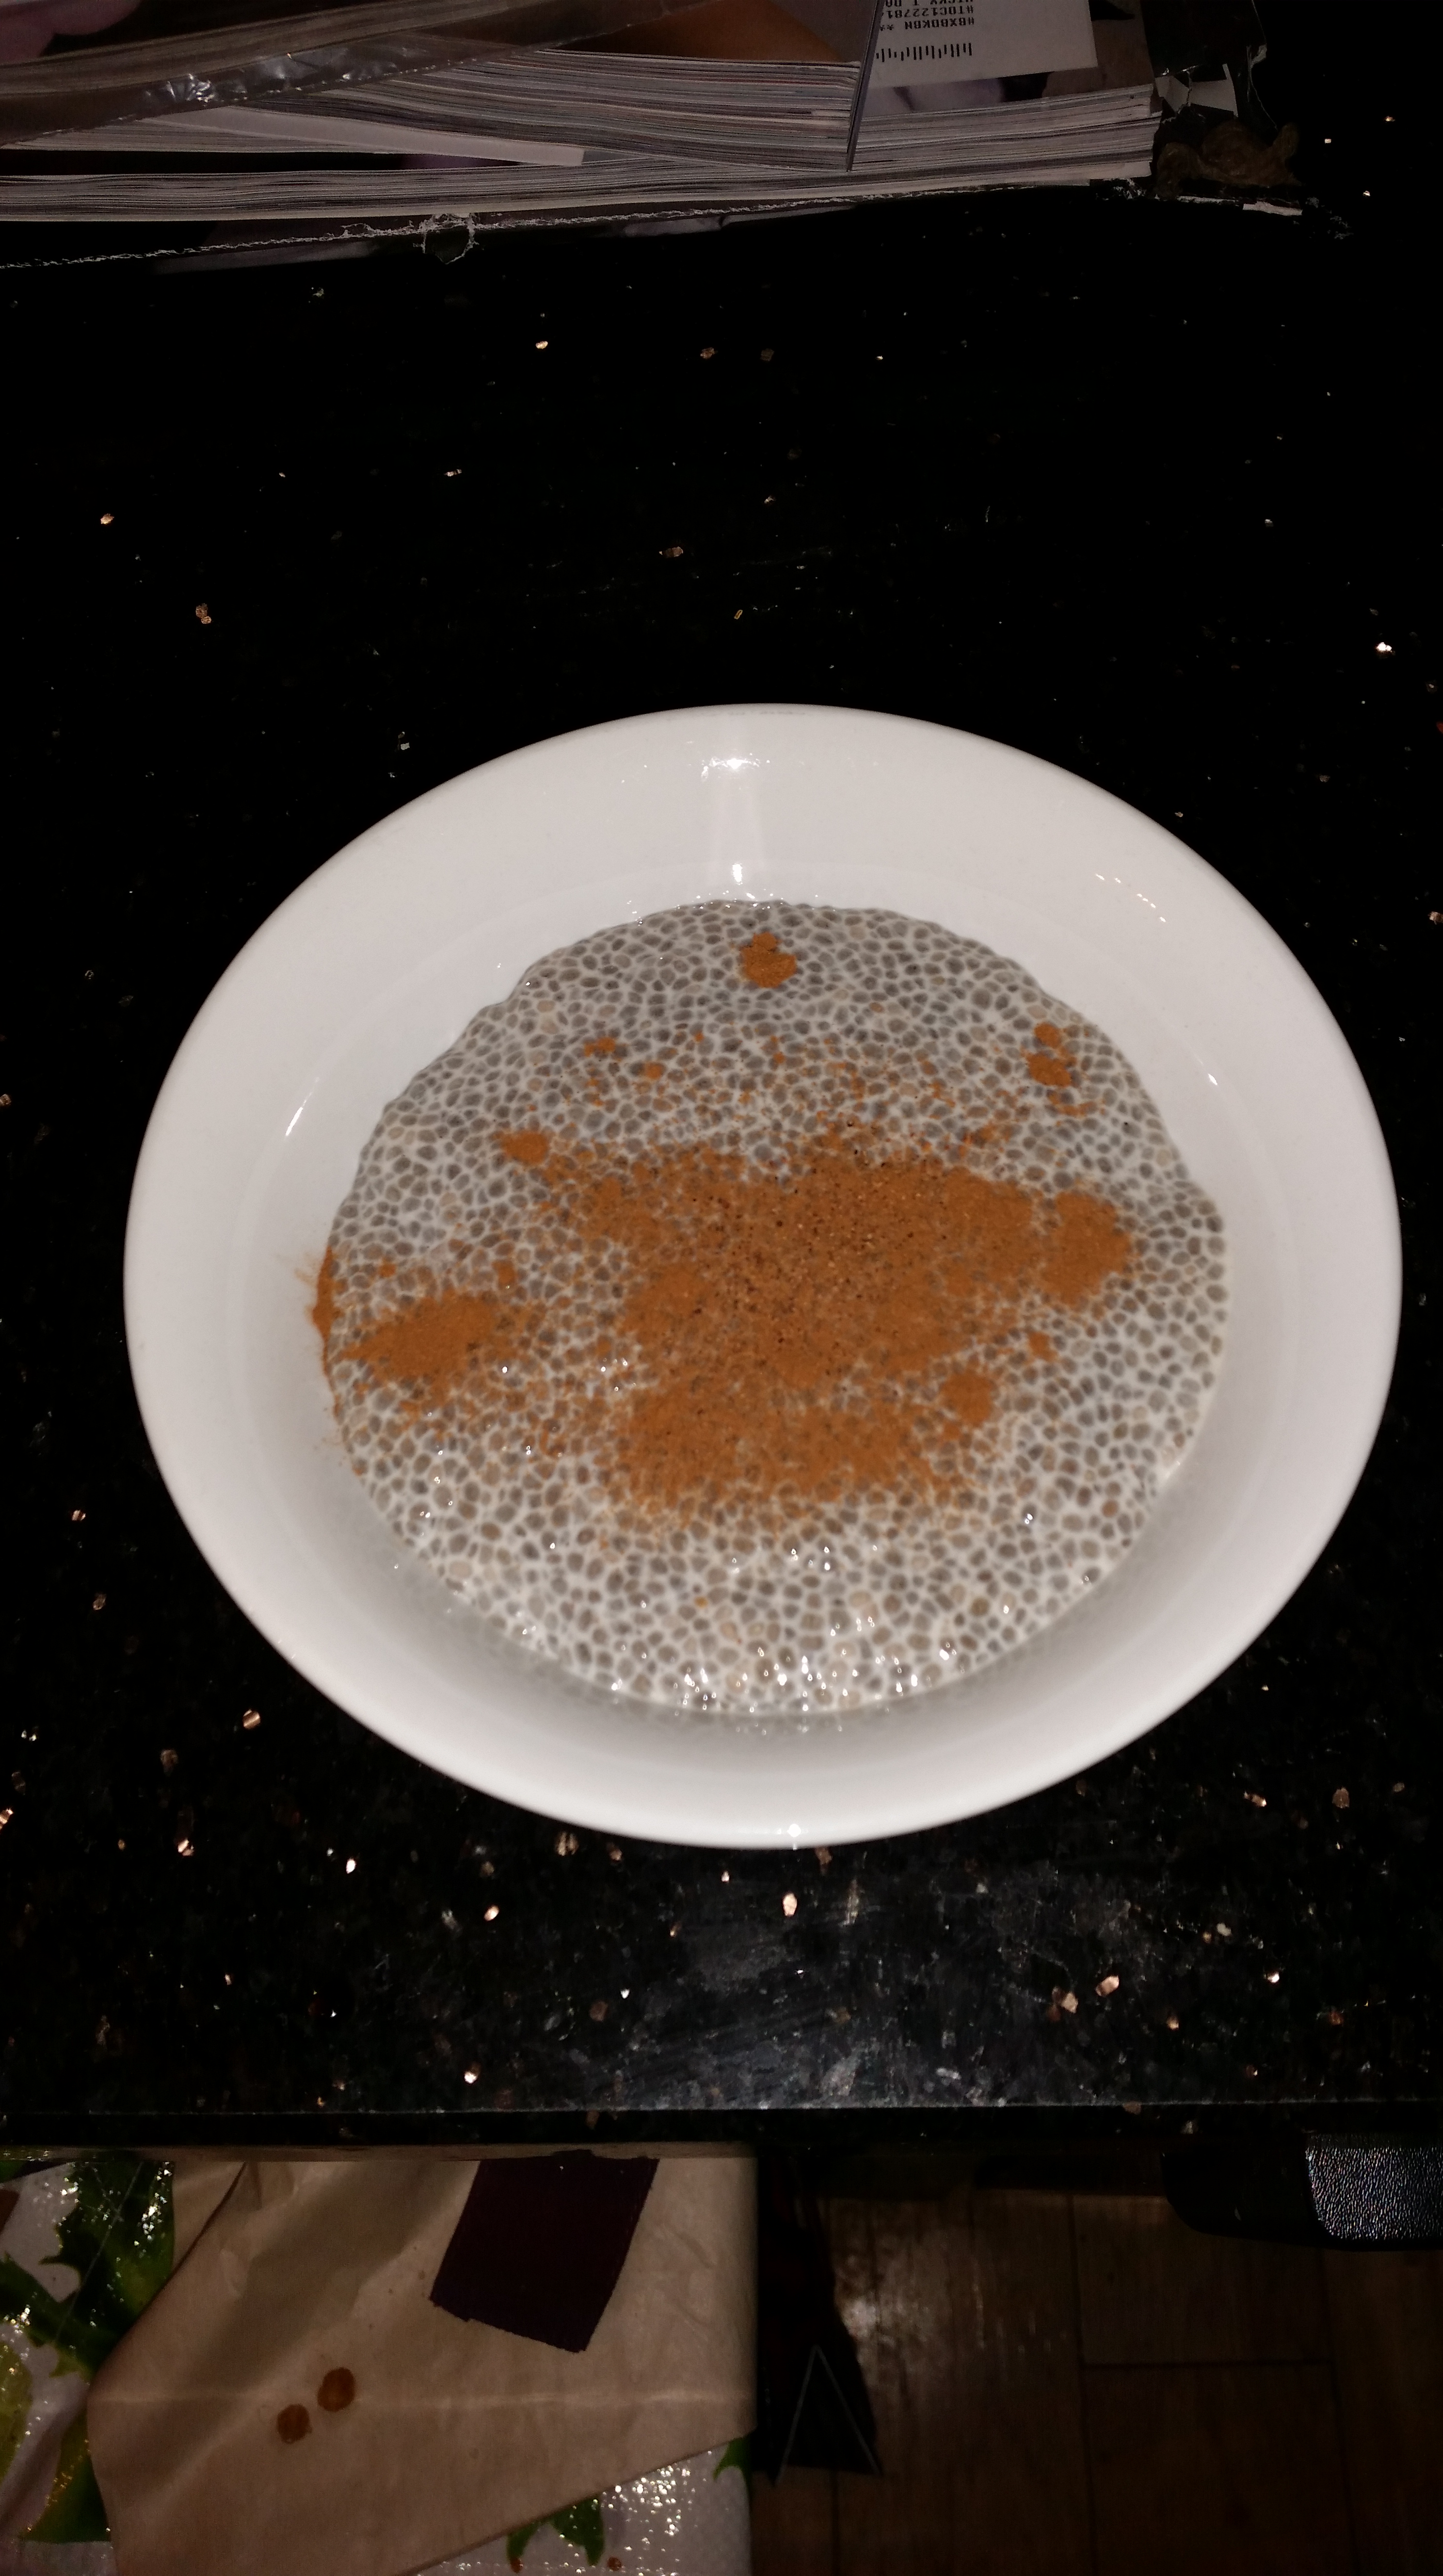
So after doing the knowledge on this super seed, of course I had to find ways to add this to my diet. Since getting rid of all the ice cream in my apartment, I had to replace it with something. Why not chia seed pudding? I had my first taste of some at a “lunch and learn” session with the office nutritionist and fell in love. It reminded me of many Chinese desserts I’ve eaten from my childhood up till now. One of my co-workers told me she’s been making chia seed pudding at home recently for health reasons and also because she loves how it tastes, (she’s also Chinese). We bonded and she gave me her simple recipe. I tried it right away and made my own little tweaks to tailor it to my taste buds.

I was surprised at all of the positive responses and requests I received from my last post, in which I referred to making the pudding for the first time (click here to read it), all of them calling for the benefits and for the recipe. So, I’ve already detailed several of the awesome ways chia seeds will improve your life, now here’s to make a healthy, quick, easy, and tasty chia seed pudding:

2 cups of coconut milk or other milk (I just tried hemp milk and it’s fantastic!)
3 tablespoons of agave nectar, or sweetener of choice (adjust according to your personal taste)
1/2 cup of chia seeds
1 teaspoon of vanilla (or to taste)
Cinnamon and nutmeg to taste (optional)

Directions:
In a quart-sized container with a lid, add all ingredients. Place lid on top and shake to mix them all together. Put container in the refrigerator for at least four hours, stirring occasionally. (I left mine in the fridge overnight and it was fine.)

20150322_201457

Since my first attempt, I’ve made a chocolate version as well. All you have to do is add about 3 tablespoons of cocoa powder.

Last night I was feeling adventurous and was in need of a filling, protein-packed dessert, so I did something a little different. I heated the pudding, then added whey protein-infused almond butter and two squares of intense dark (80% cacao) chocolate. I mixed the concoction together so everything could melt and blend, then let it cool slightly. I ate it warm with some hot tea and was in absolute heaven with my chocolate nut butter pudding! There are probably endless variations that can be concocted, like adding a cup of strawberries for a strawberry version, or you can add more spices to the cinnamon and nutmeg for a Chai Chia Pudding.

Even though the gel coating the seeds make when soaked in liquid soften the seeds, if you’re not a fan of the texture, you can put the pudding in a blender and blend until smooth. It will thicken in about 10 minutes in the fridge and will be ready for consumption even sooner.

Next up in chia seed experimentation: savory recipes! Stay tuned…

In the meantime, let me know if you tried the recipe and/or any variations. I’d love to know if you like this as much as I do, or if you’ve come up with your own versions.

Another Year, Another Chapter

It’s been one week since my birthday and one year since I started this blog, and every year I reflect on what’s happened since the last one. Have I achieved any of my career goals? Am I any closer to reaching my fitness targets? Is there any marked improvement in my character? Have the heels I’ve been wearing gotten me any closer to God? This past birthday week and the month leading up to my actual day were quite different from previous years, causing me to look within even more than usual. I know this post is a severe departure from my norm, however I was compelled to share some of my thoughts–not all, because then you’d find out my exact level of insanity and that would be unacceptable. Also, these “bare all” kind of diary-like entries give me the creeps when I read them back to myself, so have no fear, this won’t be happening very often and they won’t be Shakespearean monologues either. No, I won’t go to the deep end of the pool; I’ll stay on the shallow end as I’m know to do.

At the end of August I broke my ankle. That might not seem like a big deal to most people, but it struck a nerve with me: I take my strength and my body for granted; I need to slow down and have more patience. I need to appreciate life, my life, and my capabilities more than I realize, especially now that I’m acquiring more tree rings. These were all statements I thought I applied–heaven knows I’ve said them to myself many times. Yet, nothing will slow you down and make you think long and hard about your life like a physical blow, a tangible reminder that you’re not immortal. And even as I write this, I’m shaking my head and “tsk tsk-ing” myself because I’ve been rushing my recovery! The doctor told me me it would take 6-8 weeks until I could walk without crutches–I ditched them in under 3 due to lack of patience. Go figure. He also said I should be able to exercise normally by mid to late October as long as I did some physical therapy on my own. What did I do? I went to the gym with the plan to strengthen my ankle on the recumbent bike for 10-15 minutes and ended up taking a spin class instead! That was almost 4 weeks ago. So in a little over one month, I’m at 85-90% capability, which is mind-blowing to some of my friends and family, who all think I’m crazy of course, and I’m seriously pushing myself to dangerous limits. And I know it sounds like I haven’t learned my lesson. However, I also know that I mentally cringe now whenever I think of stairs, high heels, and possible future injuries; I am more careful and aware with/of my body and better understand its limitation. This injury has forever changed me, trust and know, dear reader. I’ve also come away from this obstacle armed with this little tidbit: It’s one thing to say you’re strong and tough; it’s quite another to know you’re strong and tough, and to prove it to others and to yourself. I did, and I am so fortunate to have gained that knowledge of self.

Another noteworthy event leading up to my personal holiday: a new job! I gave my employers 2-weeks notice of my resignation because I accepted a new position at an amazing global company. I start next week and am really excited about my career again. My new role is a big step in my professional life, one that will propel me toward greater success personally (peace of mind and a positive outlook), professionally (not a dead-end job, but a significant stepping stone on my career path), and financially (no parentheses needed). I’m a little nervous though, hoping that I haven’t bitten off more than I can chew, but I’m looking forward to the challenge. I won’t miss my previous job, but I will miss some of the people. Working at that company was exactly what I needed at the right time in my life. I have matured, foraged an unexpected yet remarkable friendship; I have learned a lot about people, human nature, different personalities and how to navigate them. All of my experiences there are what afforded me the ability to maneuver myself into this new role and I will be forever grateful. Knowing that I have the drive to achieve success has helped clear my vision on how I see myself. It’s one thing to say you have inner drive, it’s quite another to get behind the wheel and step on the gas. I might be moving fast, but I’m proud to be driving my own car and upgrading it along the way.

Older, wiser, stronger, tougher. Not bad for a year’s work. Here’s to making the most of this one…carefully, of course… (Here’s my “careful face”, taken on my actual birthday, f.y.i.)

2014-10-08 17.40.52

Ancient Aztec Secret

On rainy nights, I either turn my little apartment into a spa or a private theater. Last night after an amazing workout that made me sweat like crazy and had my pores open like sinkholes, I chose the former. Not only have I been excited about the addition of my new Clarisonic Mia 2 face brush to my skincare routine, I’ve been loving the new products I bought a while back for my weekly facials. Incorporating these lovely machines and concoctions to my daily and weekly regimens has done wonders to my skin and I’m eager to share them with you.

image

After cleansing with the Clarisonic Mia 2 and face wash, I towel-blot my skin and apply a thin layer of Reviva Labs’ Non-Chemical Light Skin Peel (bought from ulta.com). Following the directions, I wait 3-5 minutes before rubbing my face so that the peel starts rolling off under my fingers—much like dried glue (I know I can’t be the only one who played with glue as a child, peeling and rubbing it off like dead skin…c’mon!). After all of it has rolled off, I rinse and towel-blot my skin again. The dead skin has been sloughed off to reveal the clearer, brighter layer of skin underneath. Now my face is prepped and primed for my clay mask.

image

I’ve been loving Aztec Secret Indian Healing Clay lately (bought from amazon.com), religiously using it every week with great results. In a non-metal mixing bowl, I scoop the bentonite clay powder and the same amount of organic apple cider vinegar (as the directions state: equal parts of each). After mixing them together, I immediately spread it over my face like thick cake batter while my skin is still moist and receptive. As the mask dries, it starts to tingle when it tightens on the skin, so much so that you might be alarmed your first time trying this. Have no fear; that just means the clay is detoxing your skin while drying. I leave it on as long as I can stand it—roughly 20 minutes—then rinse it off with a wet cloth and warm water. After I’m finished, my skin is always blotchy and red for a few minutes, which is common among must users of this powerful clay, but again, have no fear: it will go away and your skin will be clearer and brighter, with tighter and cleaner pores. Please remember the final step: moisturize diligently!

image

Over time, my complexion has become more even; I have less breakouts, and my pores are less noticeable. When I do get an occasional breakout, it heals faster and the scarring diminishes at a quicker rate. If you would like more information on the benefits of bentonite clay, let me know in the comments section and I’ll be more than happy to write about all of its benefits and uses.

Not only are these products effective, they’re also quite affordable and natural. They’re winners in every aspect—you can’t beat that!

Crease Lightning

Forever on the search for the perfect under-eye concealer, I have spent a not-so-small fortune and have endured a lot of slipping, sliding, and creasing. There has been one too many false alarms when I think I’ve found the perfect formula, only to find that the concealer has sunken into the folds under my eyes, making it look as if I’ve tried to caulk them like bathroom tiles. Not a good look. From cream formulas to liquid; from waterproof to mineral; from powder to mousse; all have creased on me (even with face primer and/or eyes shadow base), except for MAC Pro Longwear Concealer.

image

Although this is my Holy Grail fixer, I go through this tiny vial very quickly and as a result, I end up spending a lot of money–US$18.00 every time really adds up. And honestly, sometimes my dark circles need more coverage than the Pro Longwear provides them (I’m all about the vampire life—I’ll sleep when I’m dead or I’ve achieved world domination, whichever comes first). So on the days when I need a stronger war paint, I’ve been at a loss as to how to combat creasing…until now, that is! After much experimentation, I have amended my application procedure. Let me introduce you to a trusty standby and a new friend, and I’ll show you how I use them both.

image

The first step in my new regimen is to layer my eye cream; the more moisture you infuse into your skin, the less lines and creases it will have (common sense). I apply one layer of rich eye cream, put on my face moisturizer, and wait a couple of minutes to let everything sink in. In the meantime, I line up all of my cosmetics onto my sink to cut down on time. Then I apply second layer of eye cream and wait another minute (put my headband on and blow my nose)—this is the new part of my routine, using my trusty standby (I use eye cream every day and night). Next, I use eye shadow primer under my eyes—this is my new friend. Side note: I bought a cheapie for this experiment, just in case, figuring I can invest in a more expensive and/or better primer in the future if this trial actually works. However, if the Ruby Kisses is effective, I might not change at all! From this point on, everything else in my morning regimen is the same. For this experiment, I’m using Kat Von D’s Lock-It Tattoo Concealer because this has creased on me a lot in the past and will therefore be the perfect test product.

image

Face primers and eye shadow bases haven’t worked, but eye shadow primer has some kind of magical power that hasn’t allowed this concealer to crease ALL DAY. 10 hours later and the above pic is the end result. I couldn’t be happier, and neither can my dark circles!

*Coincidentally, the makeup artist/guru Wayne Goss just posted about this exact same solution on YouTube not long ago. The saying is true: Great minds definitely think alike. 😉

**UPDATE: Since writing this post, I’ve switched from the Ruby Kisses primer to the Sephora brand and it works even better!

image

Taming the Beast…the BEAST?!

Women of every ethnicity under the sun ask me how I straighten my hair and how long it takes to get the job done. “All of those curls! It must take forEVER to straighten them.” “Can you even COMB your hair?” “You must have some strong arms to deal with all of THAT hair…” (Don’t you just LOVE all of the emphatics?) I have strong arms because I lift weights, not because my hair is tumbleweed (my hair isn’t even close to being such a thing). Trust and know there’s a lot less to straightening my hair than meets the eye, as I will describe herein.

Since I don’t have video capabilities set up yet, the following pics and my deft use of the English language will have to suffice for the time being.

image

Firstly, I always straighten my hair a day after I wash it; for some reason, flatirons are more effective on [at least] day-old hair, in my experience. The process starts by gently using a wide-tooth comb to address any tangles. Next, I mist heat protectant all over my hair and run the comb through it one more time to make sure the spray has been evenly distributed and not one strand has been missed. I have very fine hair that is quite damage-prone without proper care.
After separating my hair into four quarters, I begin the straightening process on a small section of the first quarter with my pre-heated flatiron, placing my comb underneath it as a guide and to keep my strands in place; the smaller the section of hair, the easier and quicker the task becomes because the heat penetrates the hair shaft more effectively and thoroughly.  I repeat this step until one half of my head is completed, usually about 10-12 minutes, then mist the straightened hair with shine spray while the strands are still warm. I repeat these steps with the other half, making the entire process clock in at less than 25 minutes. To finish it all off, I slap on a headband to tame any fly-aways; I don’t want to look like I stuck my finger into an electric socket, I mean c’mon. I might be crazy, but I don’t have to look crazy!

image

…And then I make myself look crazy anyway.

Home Spa

It’s a rainy Friday night. Zumba class was great, as usual, and I worked up an amazing sweat. I figured I might as well capitalize on all of this by treating myself to a little luxurious pampering.

image

After a hot shower that kept  pores open, I applied Remede mineral exfoliant to my clean and damp skin by massaging it all over my face for a few minutes until it started drying up and rolling off my skin–this process was very reminiscent of playing with glue as child. After most of the Remede had rolled into my sink, I rinsed my face with warm water and posted my skin dry with a towel. Yay for fresh and squeaky clean skin! Next, I spread a nice even layer of the famous Glam Glow Super Mud all over, avoiding my eye and mouth area. By the time I finish writing this post, it will be dry and ready to be rinsed of with warn water and a towel. My pores will be tighter and cleaner, and my face will be smoother, clearer, and brighter! However in the meantime, I’ll be sitting on the couch looking like this:

image

I just wanted to give you a good laugh/scare, haha. Toodles!